We need to logon to the recovery computer to analyze the RAID.
Set up UltraVNC
After submitting the Waiver Form, you will be offered to download the UltraVNC program.
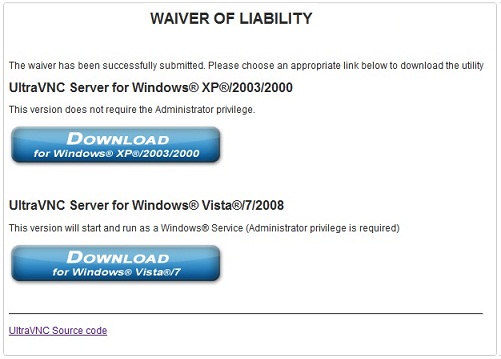
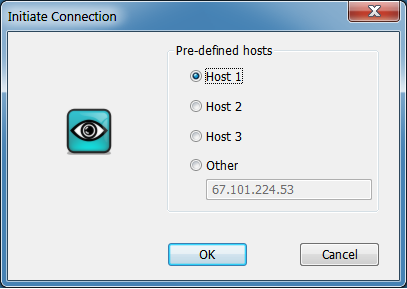
Please download the program appropriate for your version of Windows. Run it and select
to connect to Host1 or otherwise instructed by our technician.
The recovery computer will be controlled remotely by our technician.
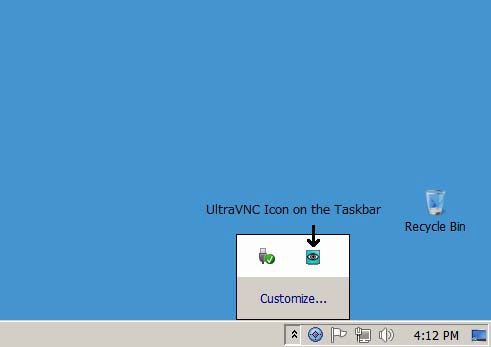
On Windows 8, 7 and Vista, you may need to double click on the UltraVNC icon on
the taskbar to bring up the Initiate Connection dialog.
|